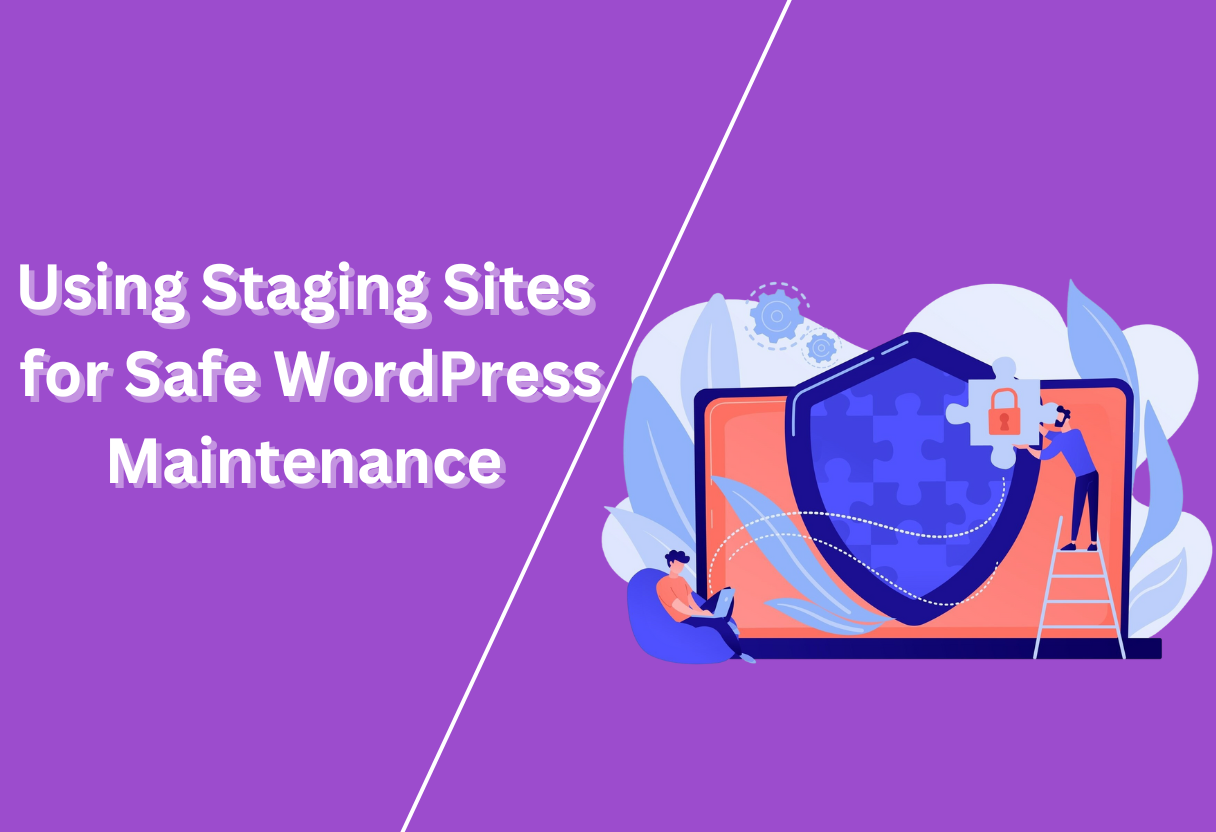
Many WordPress users overlook the importance of staging sites, which can significantly enhance the safety and efficiency of your maintenance processes. By creating a separate environment to test updates, plugins, and design changes, you can ensure that your live site remains unaffected by potential issues.
This blog post will guide you through the benefits of using staging sites, the steps to set one up, and best practices to keep your website running smoothly while minimizing risks during maintenance. Empower yourself to maintain your site with confidence and ease.
Understanding Staging Sites
The concept of a staging site is a replica of your live website, designed for testing and development purposes. It allows you to implement updates, changes, or new features without affecting your live site. By providing a safe environment, staging sites empower you to see how modifications will look and perform before making them publicly accessible.
Definition of Staging Sites
Any staging site acts as a testing ground for your WordPress maintenance tasks. It serves as a sandbox where you can experiment with plugins, themes, and updates without the fear of disrupting your website’s functionality.
Importance of Staging Sites in Web Development
To maintain a smooth user experience on your live site, staging sites play an imperative role in web development. They allow you to test changes thoroughly, ensuring that your updates do not introduce bugs or errors that could impact your visitors’ experience.
Further, using a staging site helps you minimize downtime and avoid potential data loss. When you’re confident that your changes are effective and functional in the staging environment, you can confidently push them to your live site, making the process seamless and risk-free.
Key Differences Between Staging Sites and Live Sites
Staging sites differ from live sites primarily in their purpose and functionality. While the live site is the version that users access, the staging site is intended solely for testing and evaluation, functioning in a controlled environment isolated from your audience.
Another important distinction lies in how you access and manage these sites. Your live site is publicly accessible to all, whereas staging sites are typically password-protected or hidden from search engines, ensuring that your unfinished work remains private until you are ready for it to go live.
Benefits of Using Staging Sites for WordPress
There’s a multitude of benefits that come with using staging sites for your WordPress maintenance. These environments allow you to test changes without risking your live site, ensuring a seamless experience for your visitors.
Testing New Features and Updates
Between plugins, theme updates, and new features, making changes directly on your live site can lead to unexpected issues. Using a staging site allows you to test these modifications in a safe environment before deploying them to your live site.
Safe Environment for Troubleshooting
Between unexpected errors and conflicts, troubleshooting can be a daunting task. A staging site provides you with an opportunity to diagnose and resolve problems without affecting your users.
Another advantage of having a staging site for troubleshooting is that you can simulate various scenarios and examine the impact of your changes. This means you can identify the root cause of issues and fix them without the added pressure of a live audience witnessing any errors.
Enhancing Website Performance
Testing different configurations, including caching solutions and optimization plugins, is crucial for maintaining speed. A staging site lets you experiment with these options to enhance your website’s performance without any downtime.
Also, by using a staging site to fine-tune your website’s performance, you can incrementally implement changes and closely monitor the effects. This careful approach leads to a more effective optimization process, ultimately resulting in a smoother experience for your visitors.
Collaboration and Workflow Improvements
Features like staging sites can significantly enhance your collaboration with team members, allowing you to share changes without making them live. This streamlines the workflow and keeps everyone on the same page.
But beyond just sharing updates, staging sites foster a collaborative environment where you and your team can review, test, and refine changes together. This ensures that everyone has a chance to contribute, leading to better overall outcomes for your WordPress site.
Setting Up a Staging Site for WordPress
Now that you understand the importance of using a staging site for your WordPress maintenance, it’s time to examine the setup process. A staging site allows you to test changes, plugins, and updates without risking your live website. This ensures that when you do make changes, everything runs smoothly for your users.
To get started, you’ll want to choose a reliable hosting provider that offers staging capabilities, or you can use plugins specifically designed for this purpose. As you implement your changes on the staging site, it’s wise to have a solid backup of your live site in place as part of your overall strategy.
Additionally, consider integrating regular backups and update schedules into your WordPress website maintenance plans to further enhance the security and reliability of your site. With these measures, you can confidently make updates while minimizing the risk of downtime for your audience.
Choosing a Reliable Hosting Provider
Behind every great staging site is a dependable hosting provider. You need a host that offers staging capabilities along with excellent performance and security measures. Look for features like easy cloning options and customer support to ensure a seamless experience while creating your staging site.
Different Methods to Create a Staging Site
Between various approaches, you can create a staging site either through your hosting provider’s built-in tools, plugins, or by setting it up manually. Each method has its advantages and disadvantages depending on your level of expertise and the complexity of your site.
Reliable methods to create a staging site include using built-in hosting tools, popular plugins like WP Staging or Duplicator, and manual setups via cPanel. Built-in tools streamline the process with one-click setups, while plugins offer flexibility and customization. Manual setups require more technical knowledge but grant complete control over the staging environment. Choose a method that suits your comfort level and needs.
Best Practices for Staging Site Setup
Behind every successful staging environment are a few best practices you should follow. Ensure that your staging site mirrors your live site as closely as possible in terms of content and functionality. This helps you accurately test new features and identify any potential issues before deploying changes to your live website.
Methods to follow include keeping your staging site updated, using the same themes and plugins as your live site, and regularly purging outdated content. It’s also wise to set strong security measures for your staging site, such as password protection, to safeguard it from unauthorized access. By adhering to these practices, you’ll improve your workflow and maintain the integrity of your live site.
Testing and Maintenance on Staging Sites
Despite the importance of website maintenance, properly testing your changes on a staging site allows you to avoid significant disruptions. Using a staging site acts as a safety net where you can implement and evaluate updates before rolling them out to your live environment.
Conducting Compatibility Checks
Above all, it’s important to ensure that your plugins, themes, and WordPress core are compatible. Running compatibility checks on your staging site will help you identify potential conflicts and errors before they impact your live website.
Implementing Security Measures
The security of your staging site is paramount. You must implement measures such as password protection and limiting access to authorized users only, ensuring that your testing environment remains secure from potential threats.
This proactive approach to security helps safeguard your site’s data and functionality. By restricting access and employing measures such as firewalls or security plugins, you can mitigate risks and secure your staging site from unauthorized intrusions.
Performance Testing on Staging Sites
Checks on your staging site allow for comprehensive performance testing, ensuring your website remains responsive and fast. By simulating various traffic loads, you can assess how well your site performs under different conditions.
Measures like load testing tools and performance monitoring help you identify bottlenecks and optimize your site’s speed. Assessing these factors on your staging site means you can make improvements without affecting your users’ experience on the live site.
User Acceptance Testing
Sites should undergo user acceptance testing (UAT) during the staging phase to verify that updates align with user expectations. This practice helps you gather feedback before fully deploying changes to production.
At this stage, involving real users in the testing process provides valuable insights that you might overlook. Their feedback ensures that the final product is user-friendly and meets the needs of your audience, preventing costly revisions post-launch.
Migrating Changes from Staging to Live Site
To ensure a smooth transition of your updates from the staging environment to your live WordPress site, it’s imperative to follow a structured approach. This process minimizes risk and ensures that your live site remains functional and user-friendly.
Preparing the Live Site for Updates
Live site preparation involves backing up your existing content and database. This way, you can restore everything if something goes wrong during the migration process. Additionally, it’s wise to inform your users of upcoming changes, especially if you anticipate downtime or significant updates that may affect their experience.
Methods for Migration
One effective way to migrate changes is by employing plugins specifically designed for this purpose. These tools offer user-friendly interfaces that facilitate a seamless transfer of your staging updates to the live environment.
Site migration can also be managed manually, allowing for a more customized approach. This method typically involves copying files and databases directly from the staging site to the live site using FTP or PHPMyAdmin. By choosing the right method for your needs, you can ensure that your changes are safely applied to your live environment.
Post-Migration Checks and Testing
Live site testing after migration is vital to verify that your updates have been applied correctly. Thorough checks help identify any issues that may arise from the recent changes, allowing you to fix them promptly.
Testing should include evaluating site functionality, content accuracy, and loading speed, as well as performing user interaction checks. Detailed post-migration checks enable you to confirm that everything is working as expected and provides an opportunity to address any concerns before your users encounter them.
Troubleshooting Common Issues in Staging Sites
For WordPress users, encountering issues while working on staging sites can be frustrating. However, understanding how to troubleshoot these common problems can help you maintain a smooth workflow and ensure your live site remains unaffected. Below are key areas where you might face challenges and how to handle them effectively.
Debugging Errors on Staging Sites
Debugging issues on your staging site involves turning on WordPress debugging features. By enabling the debug mode in your wp-config.php file, you can easily spot errors and warnings that may affect the functionality of your site. This allows you to address issues directly without impacting the live environment.
Resolving Plugin Conflicts
Across the WordPress ecosystem, plugin conflicts can lead to unexpected behaviors. Often, two or more plugins may not work well together, causing functionality issues on your staging site. To resolve this, you can deactivate plugins one by one to identify the source of the conflict.
But it’s not just about deactivating plugins; you should also check for updates and compatibility. Sometimes, updating plugins or switching to alternative ones can resolve conflicts. Always ensure that the plugins you use are compatible with the current version of WordPress and with each other to minimize issues.
Handling Performance Issues
Issues related to performance can arise on your staging site, especially if it’s loaded with heavy plugins or themes. You may notice slow loading times or timeouts when trying to test features. Optimizing images, using a caching plugin, and ensuring your server has adequate resources can help speed things up.
And optimizing your staging site should be part of your routine maintenance. Regularly clear caches, compress images, and monitor server performance. By keeping these factors in check, you’ll ensure that your staging site reflects a more accurate representation of your live site’s performance, allowing for better testing before deployment.
Restoring from Backup
Above all, backing up your staging site is crucial before making any significant changes. Should something go wrong, being able to swiftly restore from a backup mitigates potential disruptions. Regularly scheduled backups can save you time and effort in troubleshooting unexpected issues.
Understanding the process of restoring from backup is vital. Familiarize yourself with your backup tool, as each may have different methods for restoration. Whether it’s a plugin or a manual method, knowing how to execute a quick restore can save your project when you encounter significant problems on your staging site.
Summing up
Taking this into account, using a staging site for your WordPress maintenance significantly enhances the safety and efficiency of your updates. By testing changes in a controlled environment first, you can identify potential issues without impacting your live site.
This strategic approach not only safeguards your data but also ensures a seamless experience for your visitors. Incorporating staging sites into your maintenance routine helps you refine your site while minimizing risk, ultimately leading to a more reliable and polished WordPress presence.
FAQ
Q: What is a staging site and why should I use one for WordPress maintenance?
A: A staging site is a clone of your live WordPress website that allows you to test changes, updates, and new features in a controlled environment. Utilizing a staging site for maintenance ensures that your live site remains unaffected during updates or modifications.
This approach helps identify potential issues or conflicts before they impact your users, providing a safer way to manage updates without risking downtime or user experience problems.
Q: How can I create a staging site for my WordPress website?
A: There are several ways to create a staging site for your WordPress website. Many web hosting providers offer one-click staging setups within their control panels.
Alternatively, you can use plugins such as WP Staging or Duplicator, which facilitate the cloning of your site. After creating your staging site, you can access it with a subdomain or a subdirectory, allowing you to test updates and changes before pushing them to your live site.
Q: What types of updates or changes are best tested on a staging site?
A: Staging sites are ideal for testing a wide range of updates and changes, including theme and plugin updates, custom code additions, layout changes, and major translations or migrations.
Additionally, it is wise to test new features or enhancements that may affect site functionality. By checking these changes on a staging site first, you can catch any potential disruptions or errors, ensuring a smoother transition to your live site.